There's a reason floating shelves have become a staple of modern interior design — they're clean, dramatic, and look like they defy gravity. But the store-bought versions are usually hollow particleboard with wimpy plastic anchors that sag after six months. This project gives you the real thing: a solid wood shelf with a steel rod hidden bracket system that's rock solid and virtually invisible.
The best part? You don't need a full workshop or power tools. A drill, a level, and a few weekend hours are all it takes. Let's build it.
What You'll Need
🪵 Materials
- Wood board — 36" × 8" × 1.5" (any species you like!)
- Two ½" steel rods, 8" long (threaded one end)
- Two ½" steel flanges (wall-mount plate)
- Lag screws — 3" (for flanges into studs)
- Wood glue (Titebond III recommended)
- Danish oil, wood oil, or clear satin finish
- 220-grit & 320-grit sandpaper
- Stud finder
- Level (18" or longer)
- Drill + ½" Forstner or spade bit
- Pencil and tape measure
- Protective finish (optional: beeswax)
Step-by-Step Instructions
Cut and flatten your board
Start with a pre-dimensioned board from your local lumber yard or hardware store — most will cut it to your exact length for free or a small fee, so you may not need to cut anything at all! If you do cut it yourself, a simple hand saw works fine. Just draw a straight line across the board using a square (or even a book corner as a guide), then follow that line with your saw. The back face should be flat so it sits flush against the wall — a light sanding is usually all it needs.
Sand through the grits
Sand both faces and all edges starting at 120-grit, then 180, then 220. Always sand with the grain, never across it. Finish with 320-grit for a surface that will take oil beautifully. Wipe with a tack cloth between grits to remove dust. This step makes the biggest difference in the final look — don't rush it.
Apply your finish
Before drilling for the rods, finish the wood first — it's much easier now than after installation. Apply Danish oil with a lint-free cloth, rubbing it in with the grain. Let it soak for 15 minutes, wipe off the excess, and let dry for 4 hours. Apply a second coat, then buff lightly with 0000 steel wool. The wood will deepen in color beautifully and show every grain detail.
💡 Pro Tip: Some hardwoods (like walnut or teak) are naturally oily that can resist finish adhesion. Wipe the raw wood with naphtha or mineral spirits before applying oil to remove surface oils and help the finish penetrate deeper.
Locate your wall studs
Use a stud finder to locate two studs in your wall. Mark their centers with pencil. Ideally your shelf flanges will land on studs — if your stud spacing doesn't work with your shelf width, you can use heavy-duty wall anchors rated for at least 75 lbs each, but studs are always preferred.
Mount the wall flanges
Hold a flange at your desired shelf height and mark the screw holes. Use a level to align the two flanges perfectly — this is critical. Drill pilot holes slightly smaller than your lag screws to avoid splitting the stud, then drive in the 3" lag screws. Give each flange a firm tug — it should feel bombproof. Thread your steel rods into the flanges until snug.
Drill the shelf holes
Measure the exact distance between your two rods and their height above where the shelf back will rest. Transfer these measurements to the back face of your shelf. Use a ½" Forstner or spade bit in a standard handheld drill to make two holes approximately 6"–7" deep into the back edge of the shelf. Go slow and keep the drill as straight as possible — you can wrap a piece of tape around the bit as a depth marker so you know when to stop. The holes should be snug but not tight around the rods.
⚠️ Check your drill depth! Don't drill all the way through — stop at least 1" from the front face of the shelf. Tape the drill bit as a depth guide so you don't accidentally poke through.
Slide the shelf on and level
Apply a small amount of wood glue inside each drilled hole (optional but adds rigidity), then carefully slide the shelf onto the two rods. Press the shelf firmly against the wall. Use your level on top of the shelf and adjust if needed — the rods allow a little wiggle before the glue sets. Hold for 2 minutes or use painter's tape to hold while it dries. Let cure for at least 2 hours before loading the shelf.
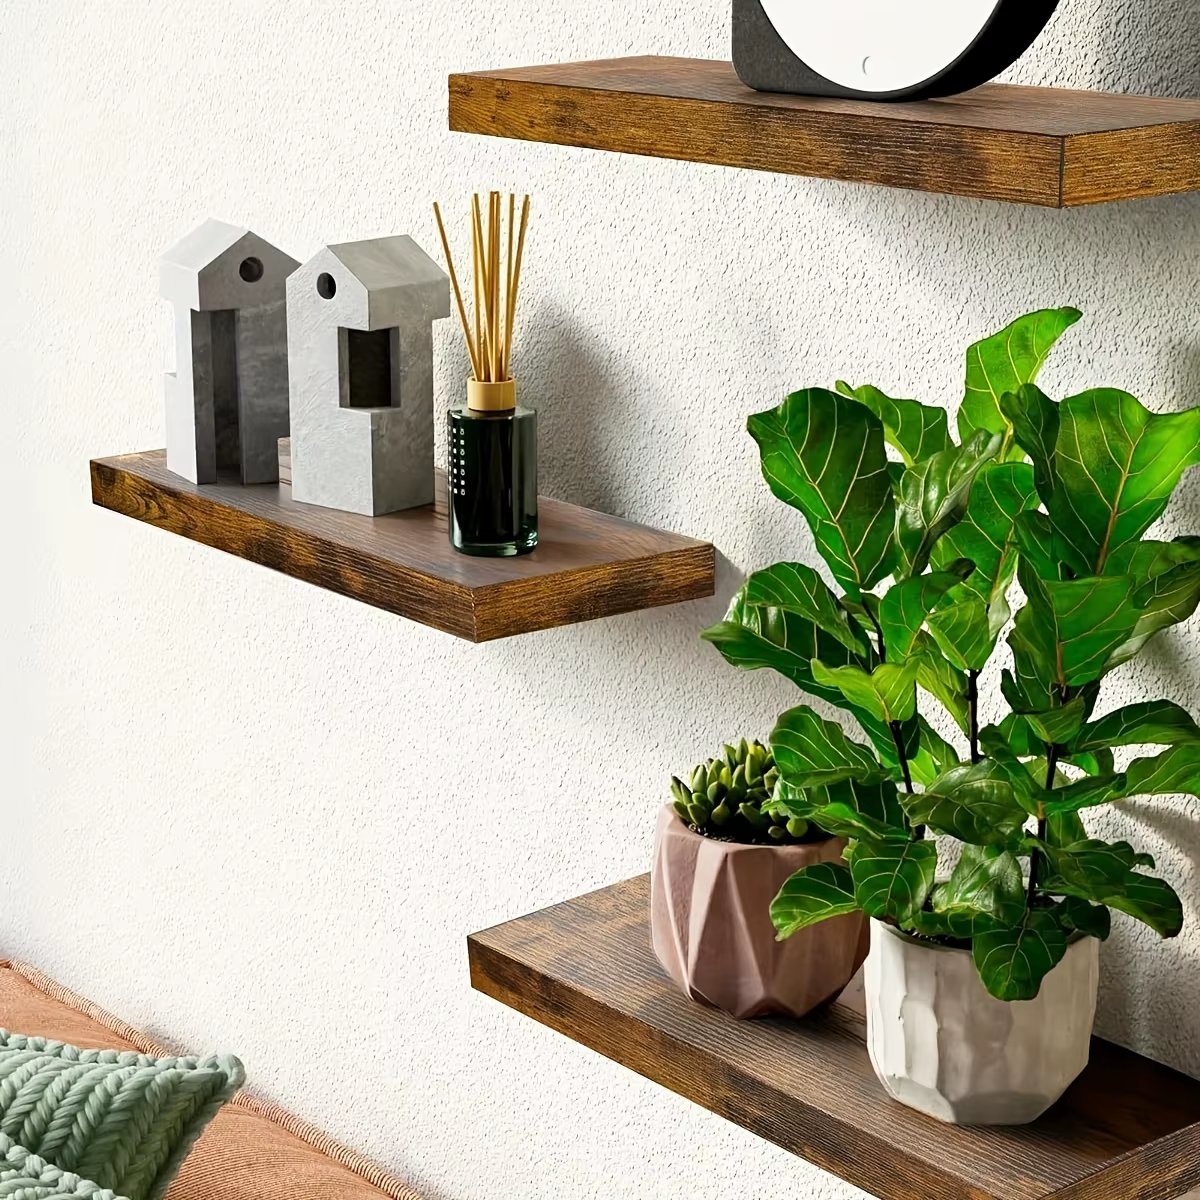
Finishing Touches & Styling Tips
Once your shelf is mounted, the fun part begins. A natural wood shelf looks incredible against white or light grey walls. Here are a few styling ideas:
For a minimalist look:
A few plants in terracotta pots, one or two books stood upright, and a small ceramic object. Less is always more with the wood is the star.
For a warm & cozy feel:
Cluster small wooden objects, a candle, some trailing ivy, and a few vintage-looking books. Warm ambient lighting aimed at the shelf brings out the the wood's natural tones beautifully.
🌿 Maintenance: Every 6–12 months, wipe the shelf with a cloth lightly dampened with Danish oil to keep the wood from drying out. It takes 5 minutes and keeps it looking new indefinitely.